
Kitchen facelift - how I painted my oak cabinets (no sanding)
I am so excited to finally be writing this blog post! Since we moved into our house last June, painting the cabinets has been one of the top things on our to-do list! As life happens though, we always seem to have a million excuses to keep putting projects off… BUT since this whole quarantine and self isolation business has us spending 99.9% of our time inside, I have no excuse (even Benjamin Moore offered free deliver - so really, no excuses)! If you have been thinking about painting your cabinets with all your free time, I hope this blog post gives you the push you need to take the plunge! I am sad we didn’t do it sooner, every time we’ve walked into our kitchen since we look at each other and go “this feels like a whole new house”! If your after this same feeling I urge you to watch the below video, and read on for my full step by step tutorial.
The supplies you will need to get started are:
Primer (I used Benjamin Moor Aqualock - which is the reason I didn’t need to sand!)
Paint (I used Benjamin Moore Advance Pearl Finish, in Ashwood)
Wall putty
Putty scraper
Sanding Sponges
Painting tape
A mini roller with a 5mm role (this is a finishing thickness and will work better on cabinets)
A bristle brush

As I wanted to change my hardware on the uppers to single knobs, my first step was to fill in the existing top holes with drywall putty. After about 20 mins of drying, I used my sanding sponge to level it out and make it flush with the rest of the cabinet. After this step I tapped around all the cabinets and the floor, and did a deep clean. I used a combination of TSP and dish soap to do a deep clean and remove grease.


Next I used my bristle brush and mini roller to apply one coat of the primer to all the boxes, bottom baseboard area, crown, and doors (both sides). I used the bristle brush to get any any deep grooves, like the cabinet face detail, and the crown.


Giving the primer 2 hours to dry (depending on the airflow in your home this timing my vary), I used the same techniques and brushes (after giving everything a thorough cleaning and air dry), to apply two coats of the the paint. This process took quite long for the doors, as I painted one side at a time, also waiting at least 2 hours before flipping and doing the other side. I also opted to paint the edges when I painted the fronts to have a more seamless transition when facing the cabinet from the front once installed.


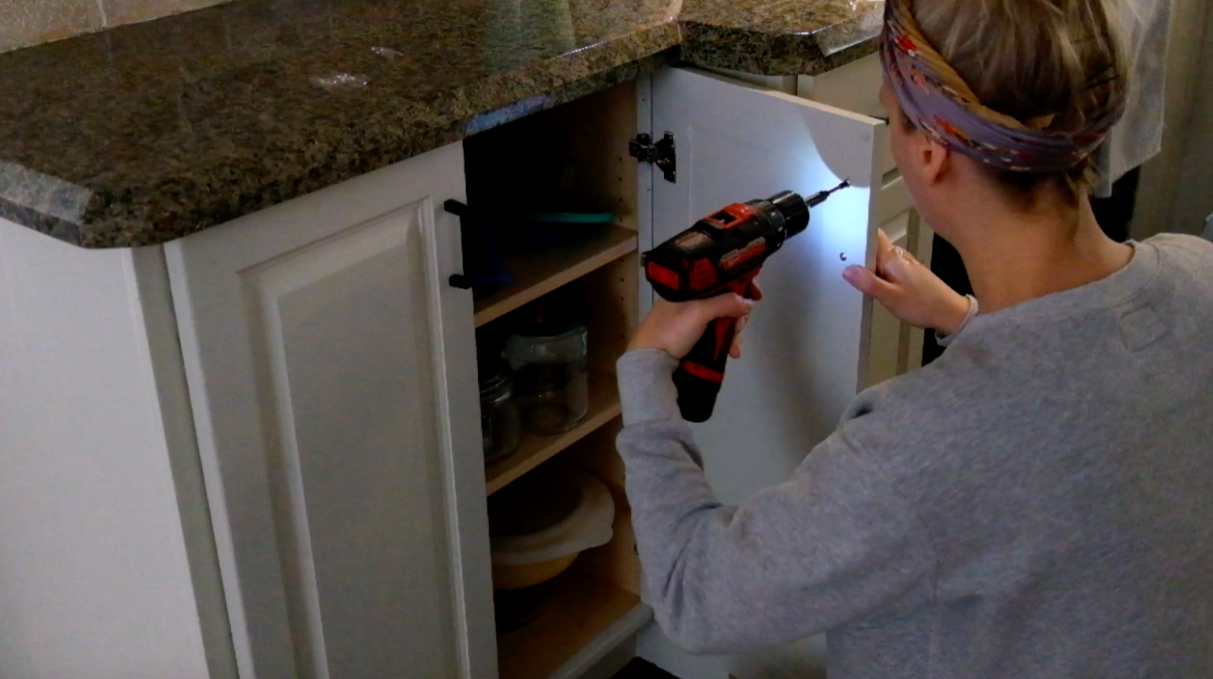
I gave everything about 10 hours of drying time before I began to hang the doors. Because this process entails hardware and drills, if you do not allow enough drying time there is a risk of damage to the paint and needing to go back and do touch ups. As previously mentioned, I also updated my hardware with single knobs on the uppers and 3” pulls on the lowers, I find this look gives the illusion of larger cabinets, and gives a nicer minimal appearance to smaller kitchens.

Overall I am so happy with how this turned out, everyone I talked to made this task seem so daunting but honestly it wasn’t as bad as I thought! It does help that we have a smaller kitchen, but that being said it looks so much larger than it did when it was full oak! Crazy what a coat of paint can do!
