
Kitchen facelift - how I whitewashed my backsplash
Hello everyone! I say everyone because I literally had so many of you asking me HOW I tackled my diy backsplash facelift. I couldn’t be happier with how it turned out - to be honest this was the scariest project I had on my to-do list! When Shayne and I purchased our house we knew going in, there would be a few cosmetics projects we’d have to do (the backsplash being one). Like most young home owners I really just didn’t want to mess this up… not to mention not having the cash to rip it all out and start fresh if I failed. All that being said, I DID NOT MESS UP, and in fact think I made such a huge impact with a small budget and minimal effort. If you are looking for an inexpensive backsplash change - look no further then this blog post! For a full video tutorial, click the below link, and read on for my detailed step by step process.
To start you will need a few supplies:
Paint (I used leftover white wall paint, Benjamin Moore Swiss Coffee, in an eggshell finish)
Drywall putty
Putty scrapper
Sanding Sponges
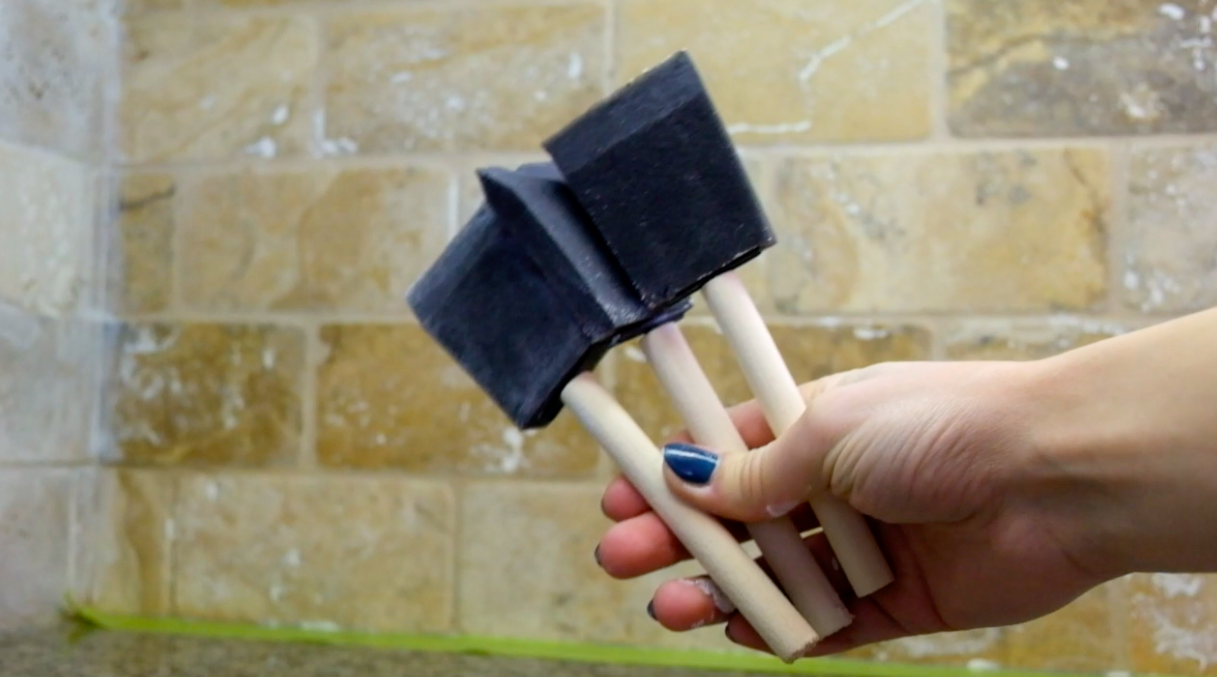
Sponge brushes
Painting tape
A bowl

The first step is to use the drywall putty to fill in any holes in the tile. If you skip this step the holes will still look orange, while the rest of the tile gets the whitewash finish. Applying a thick coat into the holes and groves, I used the putty scrapper to scrap off the excess, creating a flush and even tile face when finished. Once the putty dried (20mins or so), I used the sanding sponges to sand off any putty residue that was still left on the tiles.


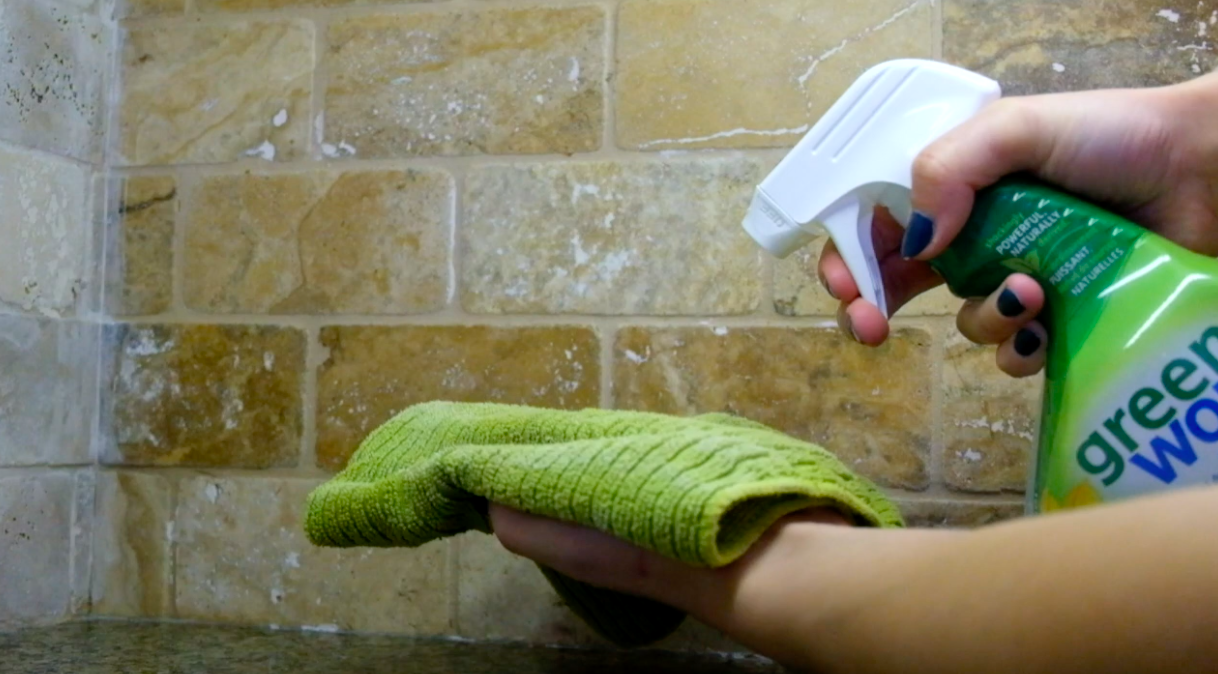
Next I cleaned all the tiles and vacuumed up any putty dust that was on the counter top. I find a general household cleaner works well, and dish soap is great behind the stove to clean off any grease. Insure you have thoroughly cleaned all areas before continuing on to the next steps, or the paint will not adhere to the tiles. Once all was cleaned, I continued with taping around the backsplash, in preparation for the painting process.

Using the bowl I created my whitewash mixture. I used about 1/2 cup of paint, to 1tbs or water. Make sure you do not overwater the mixture as it will not adhere properly to the tiles (trust me… I made this mistake when I started the process). Now the fun steps! I used a combination of three brushes (wet, damp, and dry). The wet brush I used in the bowl to coat my damp brush (it’s important to do this, if your brush is too wet when you apply the paint, you risk over painting and loosing the “whitewash” effect). Next using the damp brush I applied my mixture to the grout lines first and used my dry brush to soften the lines. I repeated the step along the corners and the perimeter of my backsplash area.


Continuing the above technique, I dampened more of my brush and started applying the wash to the tiles. Going slowly with the damp and dry brushes, you want to make sure each tile is properly coated. You can use the dry brush to “dab” the paint as well, to eliminate any paint streaks and create a more organic look.


TA-DA! That’s it! Quick and painless! If you wanted to give it more of a shine, a finishing coating could likely be applied, in paint or spray format. I personally really like the rustic look and kept it with more of a matte finish. I would love to see how other peoples turn out - be sure to drop a comment with some photos, or shoot me an email hello@alexandriaparis.ca!
