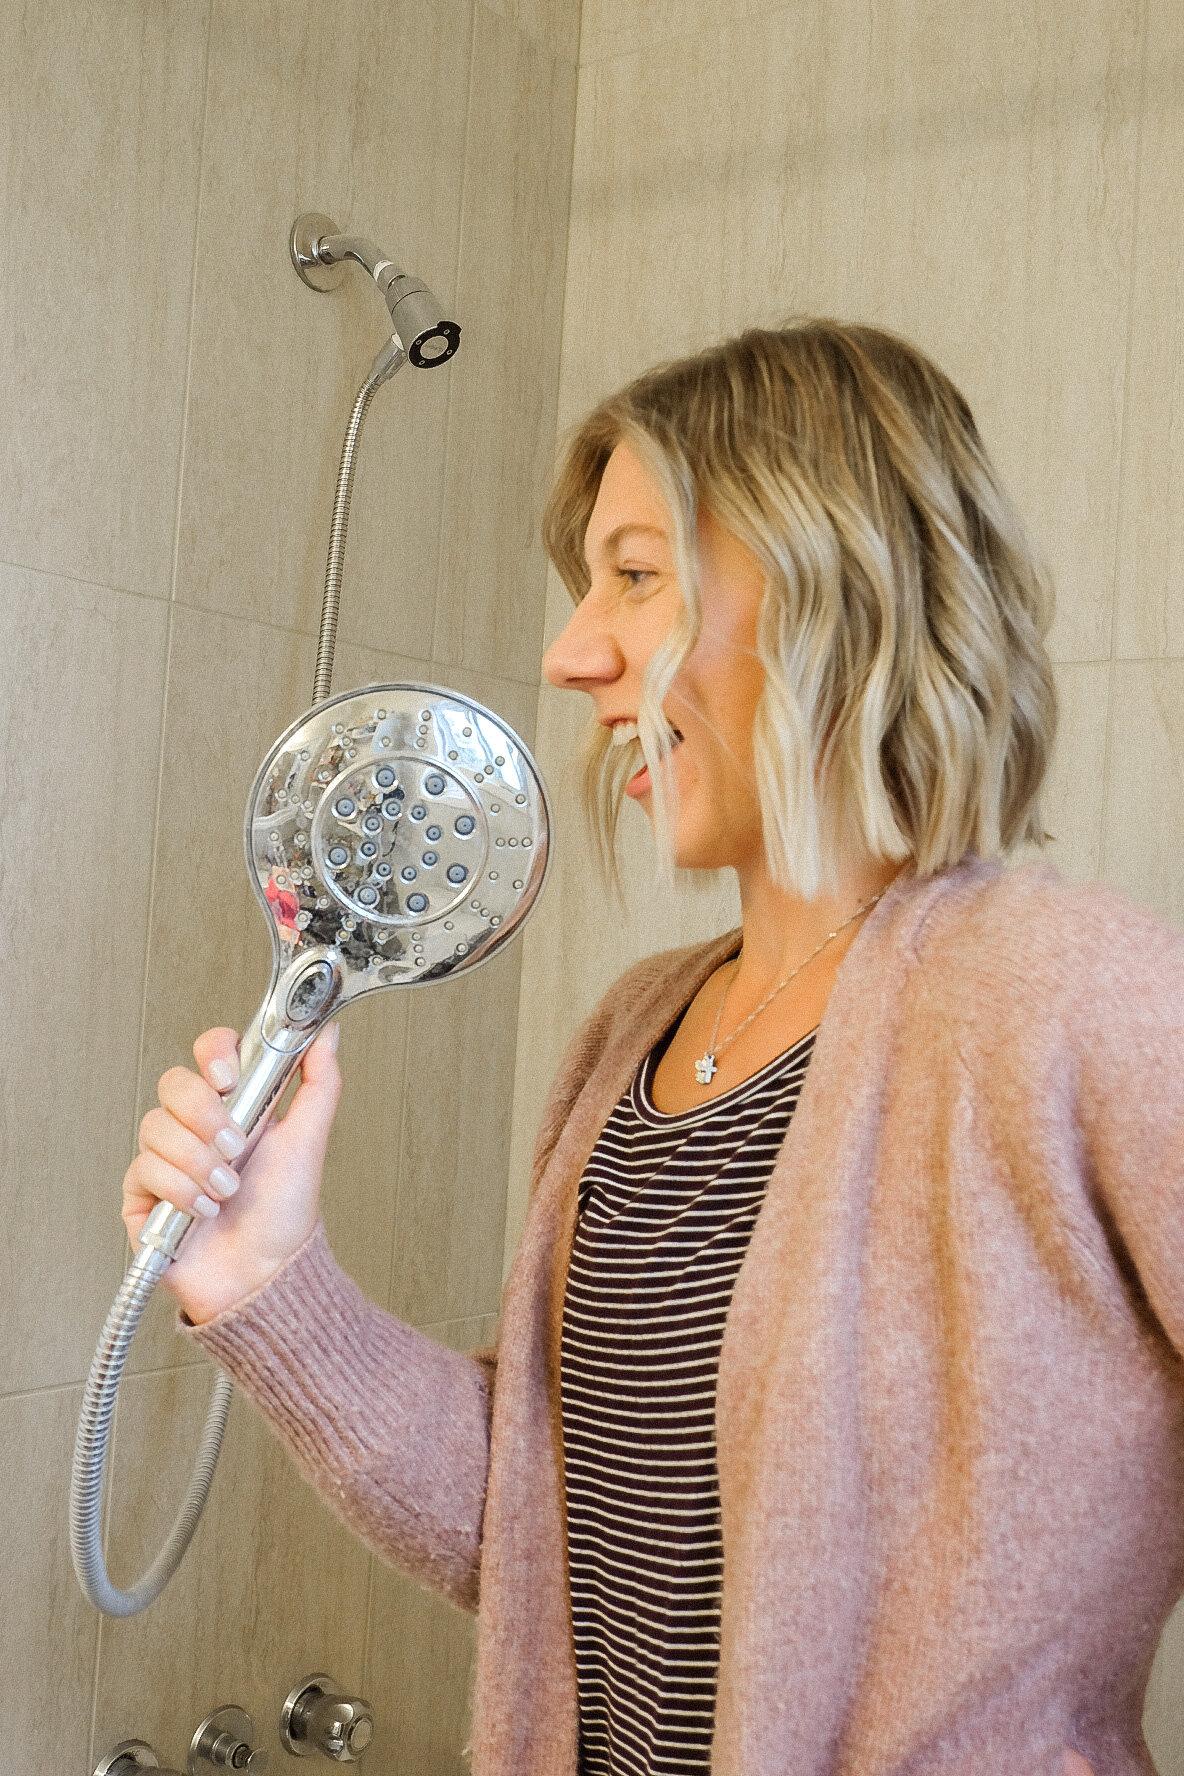
Fixing a Leaky Tub Spout
Since becoming a homeowner, it’s been fun trying my hand at some of our simple home renos! Having worked in plumbing for several years, I’ve gained quite a few nuggets of information when it comes to the most common of plumbing issues. If you are dealing with a leaky/dripping tub spout watch my quick DIY video, you might be surprised how easy it is to fix and even save yourself an unnecessary plumbing bill!
What you will need:
A flat head screwdriver
A Phillips head screwdriver
An adjustable wrench
Pliers (just in-case, I ended up not needing this)
An assorted washer kit (found in the plumbing section of the hardware store)


Step 1: Test the temperature of the leaking water. If the water is warm, the hot handle is the source of the leak. If the water is cold, the cold handle is the source of the leak.

Step 2: Turn off the main water supply in your home.

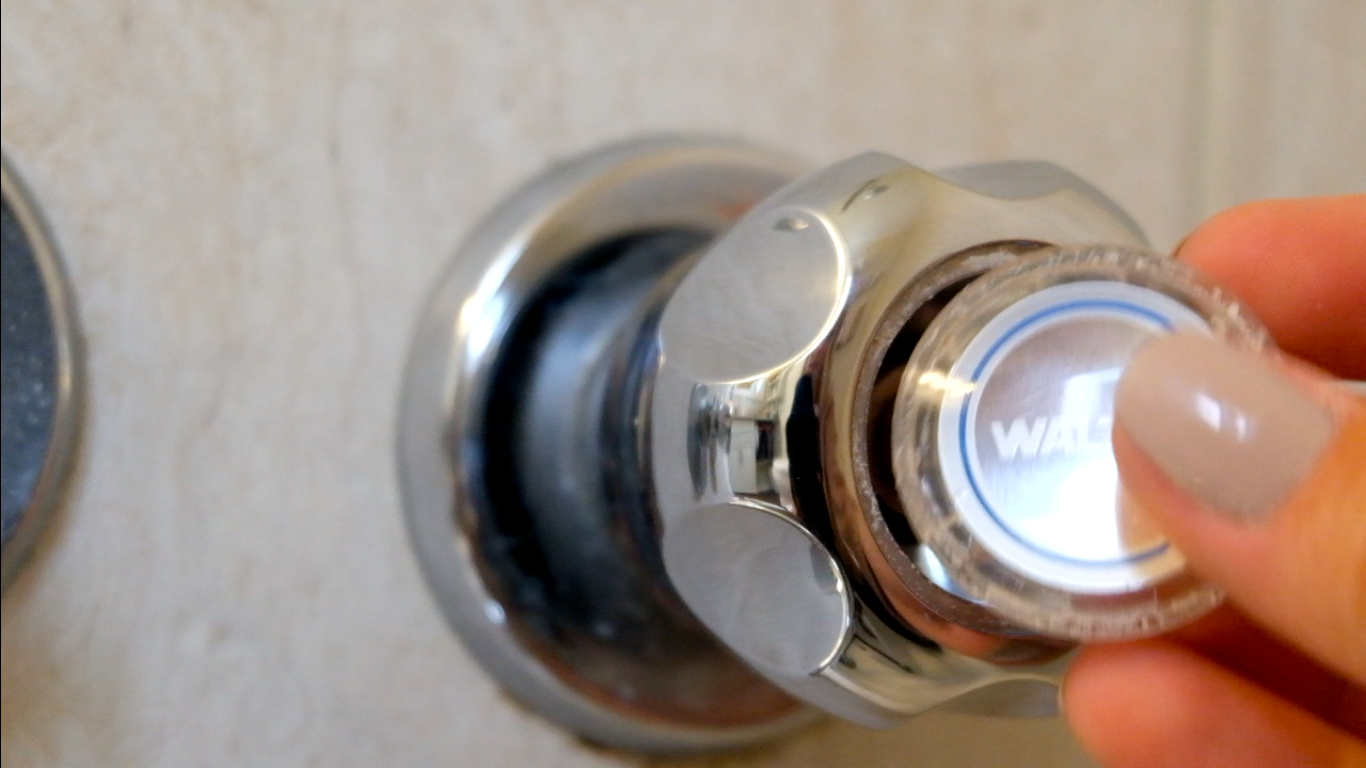
Step 3: Open the valve of the handle which is causing the leak (in my case this was the cold handle).

Step 4: Use the flat head screwdriver to removed the temperature cap.

Step 5: Use the Phillips head screwdriver to unscrew the handle screw.

Step 6: Pull off the handle and unscrew the remaining handle elements (depending on your set, there may be a small set screen that holds these parts in place. This will need to be screwed out before you can take off the handle).

Step 7: Use the wrench to loosen and remove the valve from the wall. Once this is removed you should see the worn down washer located inside.

Step 8: Use the Phillips head screwdriver(or flat head depending on screw type), to unscrew the washer from the metal valve (the place where the washer sits is called the “seat”, inspect this area - if it is damaged you may need to contact a plumber).

Step 9: Place a new washer in the seat. Try out a few sizes, the right washer should fit perfectly inside the seat with no gaps or overlap. Use a new screw located in the pack to replace the old screw, and tighten the washer in place.


Step 10: Put the valve back in place (washer side first), and use the wrench to tighten it back up.

Step 11: Put the handle elements back in place (again you may need to fasten everything with the set screw if your handle has one).

Step 12: Use the handle screw to tighten everything back together, and pop the temperature cap back in.
Step 13: TURN THE HANDLE CLOSED (I forgot to do this step, this prevents the water from rushing into your tub once you turn the water supply back on).

Step 14: Turn the water supply back on for your house, you should see the leaking or dripping has stopped! If not the washer may not have been your issue and you may need to contact a plumber.

Step 15: Celebrate! Your tub spout blues are solved!