DIY Entry Bench Re-Vamp
Hey guys! So excited to bring you another DIY blog post! I bought this entry bench when we first moved into our home. I actually picked it up at a used showhome furniture sale I was managing for my previous home building job. Needless to say it was a steal of a deal (I think I snagged it for $10)! I always had intentions of replacing it, but as I started shopping around it was looking to be a $300+ purchase for something that fit with my style. So thinking outside the box, I decided to have a look under the fabric and BEHOLD solid wood! Watch the below video and read on to hear about how this transformation came together!
The first step was taking out all the rivets, this was long and tedious but once out I was able to cut away the fabric and padding.


Flipping the bench over and removing the fabric from the bottom was another long process, as I needed to individually remove each nail and staple.

Next I tried using a putty scraper to remove the remaining padding that had been glued to the sides. This did not go according to plan and I actually had to use a sander to get it off. I also sanded down the whole bench to get out the imperfections in the wood.


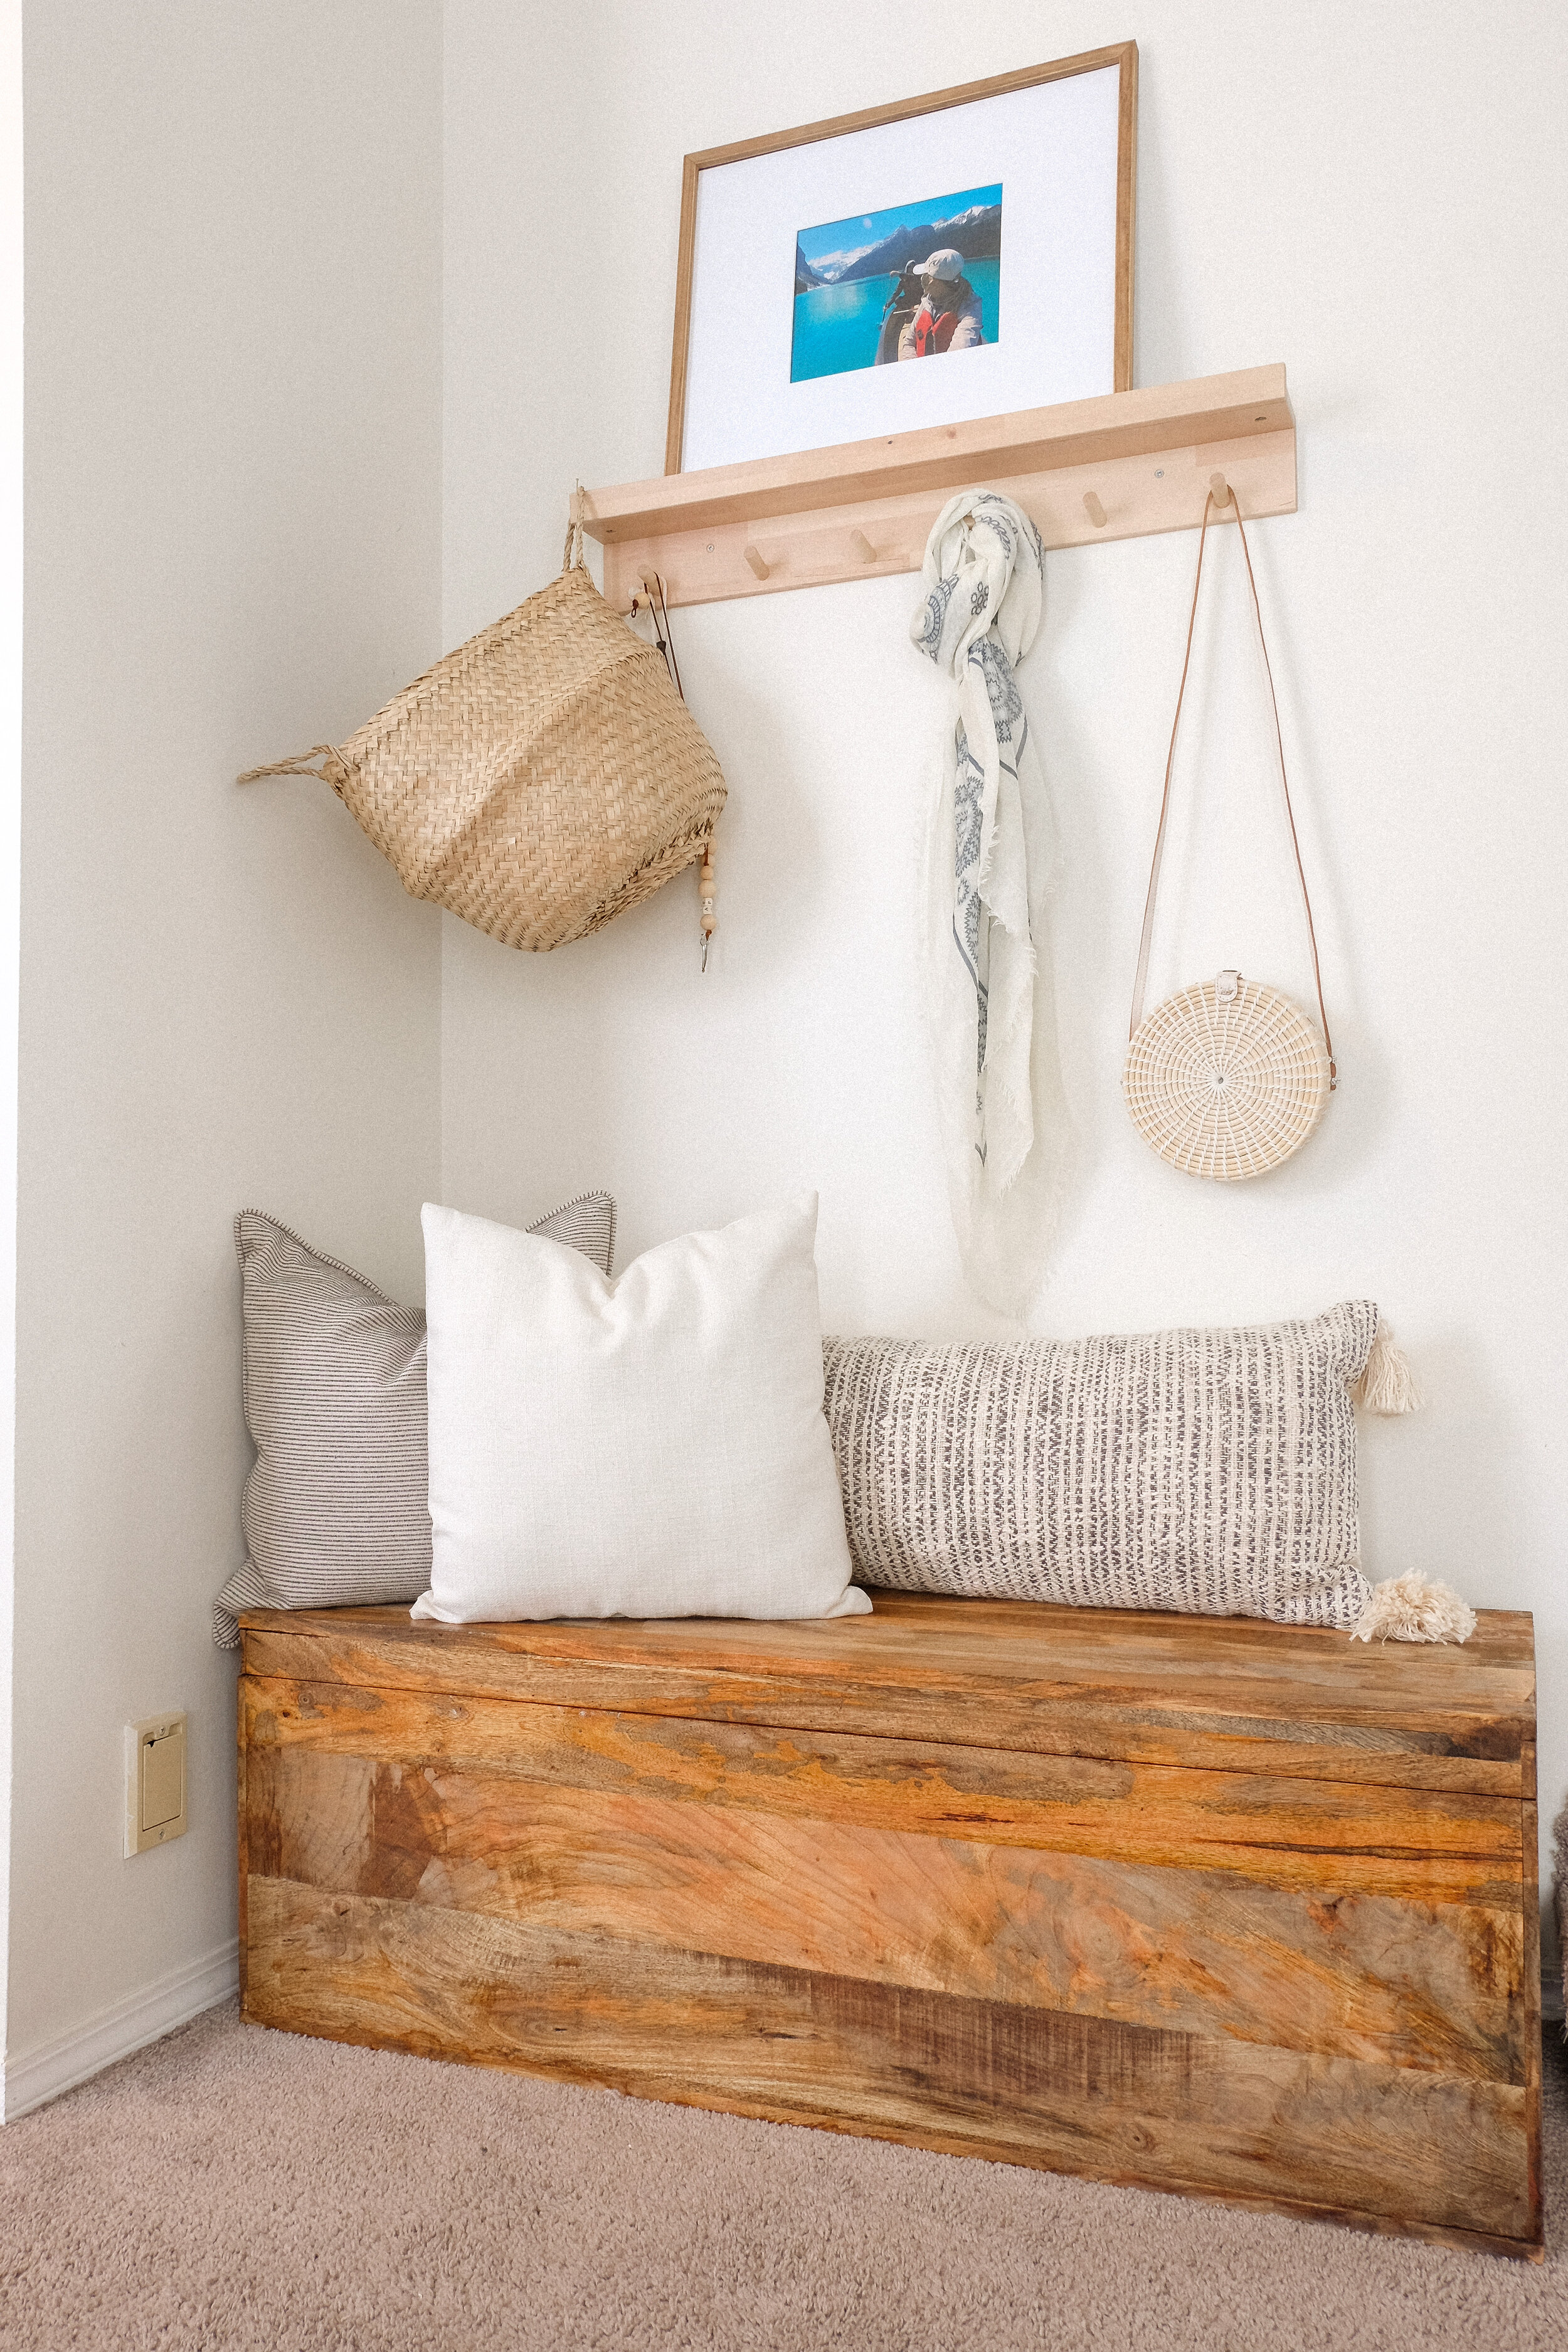
Lastly I used a Minwax indoor-outdoor spar urethane to do a clear coat. I chose a satin finish as I wanted to keep the rustic look of the natural wood.


After putting it back into position I styled it with some boho cushions, and an IKEA wall shelf. I couldn’t be happier with how it turned out, and keeping a few extra dollars in my pocket to boot!